
This has probably been covered about a million times on the net, but I have included it to complete my previous post on Installing Umbraco Visual Studio Install using Nuget.
This post assumes you have a Windows Azure account and know a little bit about whats in there (databases, web applications etc.)
To sign up for Azure, please click the following link: http://azure.microsoft.com/en-gb/pricing/free-trial/. This link covers in more detail setting up a web application in Azure for the first time http://azure.microsoft.com/en-gb/documentation/articles/web-sites-dotnet-get-started/. I am going to be a bit briefer here in this post.
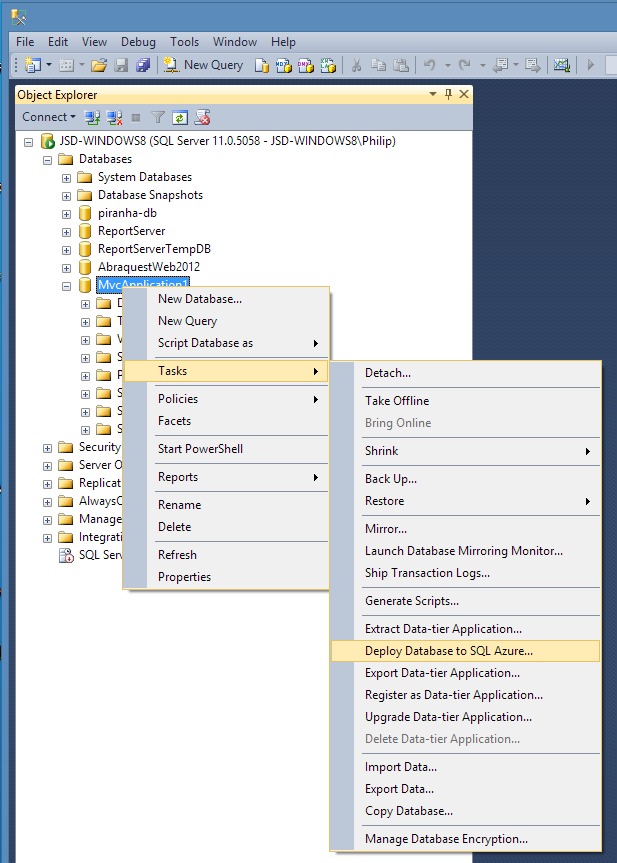
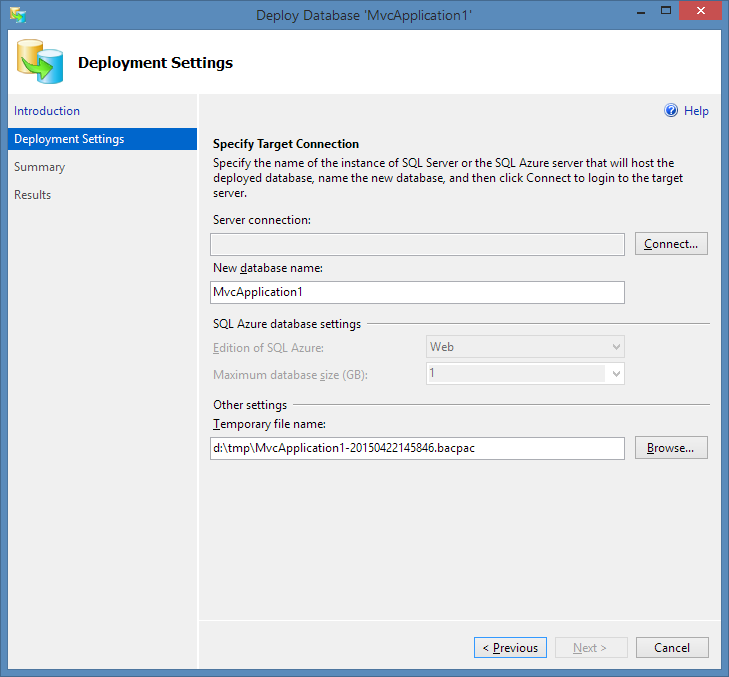
Step 1: Deploy the SQL/Server database to Windows Azure
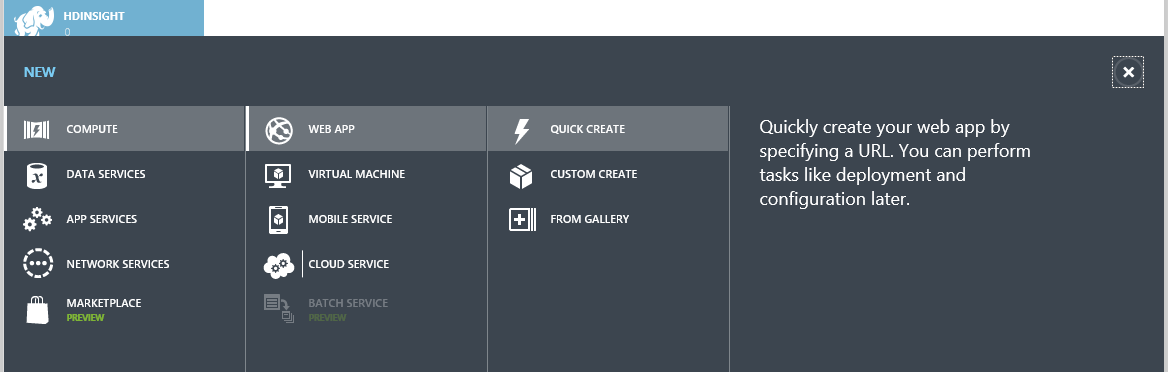
Step 2: Create the web application in Azure
Go to your Azure portal and create a web application using quick start. No need to specify any database details at this point.
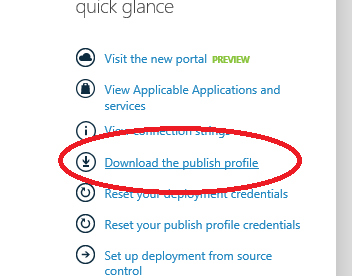
Step 3: Download your Azure Publish Profile
After the web application has created, go into the dashboard for it and on the right hand side, you should choose the download the publish profile option to download the publish profile to your local machine.
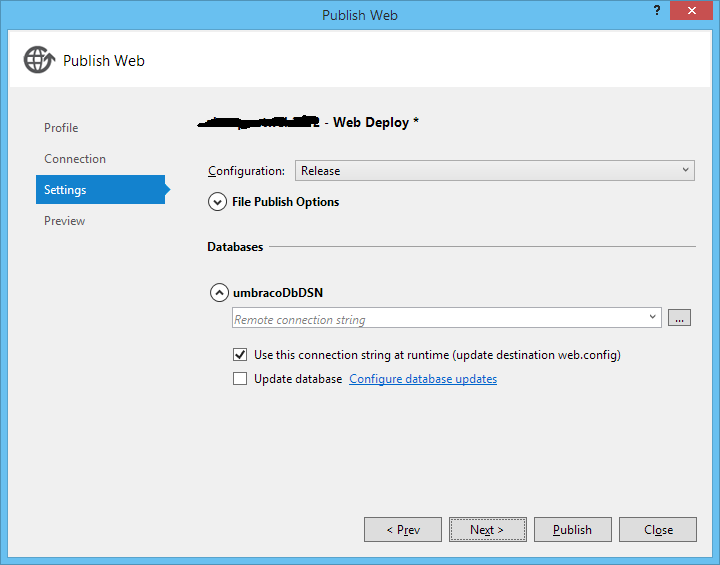
Step 4: Import your Azure Publish Profile into Visual Studio
The final step is to right click your project and click Publish, and then at the first step Import the publish profile into Visual Studio. See below.

I hope somebody finds this useful. For sure, deploying to Azure is easy enough, but setting up Umbraco via Nuget was not.