As mentioned in a previous post, I have struggled to install Umbraco using 7.2.1/7.2.4 and Visual Studio 2013 (VS2013).
As a developer my requirement is to add content management to an existing MVC project, or to start a new MVC project and give the users the option of content management so on the face of it Umbraco is a pretty good fit. Umbraco is more intrusive to Visual Studio than it could be in my opinion, because it overwrites the global.asax and uses its own compiled version for routing configuration etc. Not exactly an open system. However it does install correctly on VS2012. I have used MVC 4 and Visual Studio 2012 on .NET Framework 4.5.1.
This is part of 2 posts, the second post covers Deploying a Visual Studio 2012 project to Azure – this are follow on steps once you have completed all the steps listed in this post.
Here are the steps:
Step 1: Create a C# or VB Web project in Visual Studio 2012.
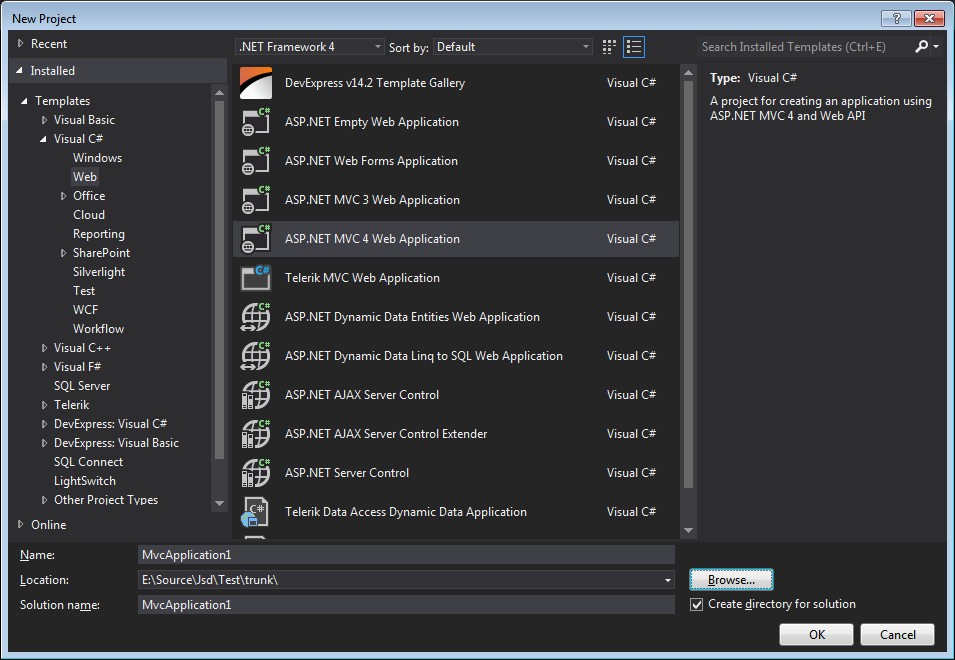
Choose your name and Click OK.
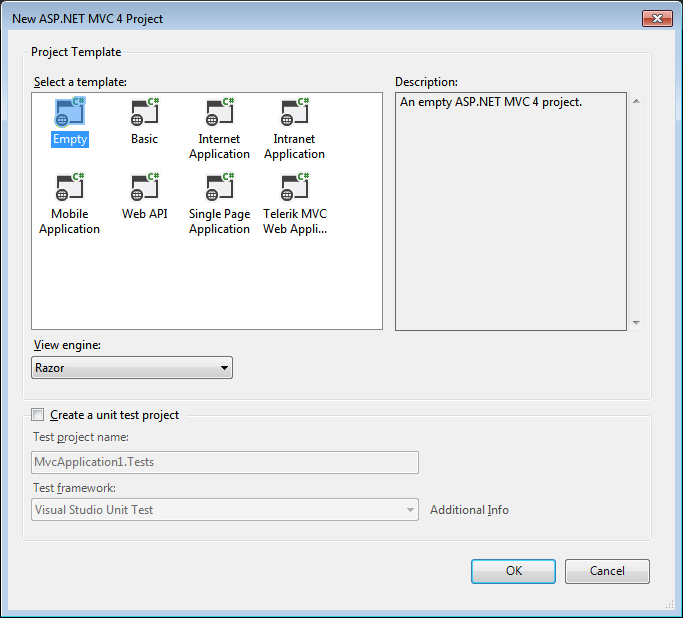
Step 2: Choose Empty Project
Step 3: Remove your global.asax and web.config
I am not 100% convinced that this step is necessary, however I did it anyway during my install as some posts on the internet related to Visual Studio and Umbraco recommended it. Its probably a good idea to remove the files in the App_Start folder and also compile the project at this point (a better way if you have any concerns at this point is to go into Nuget and remove all packages).
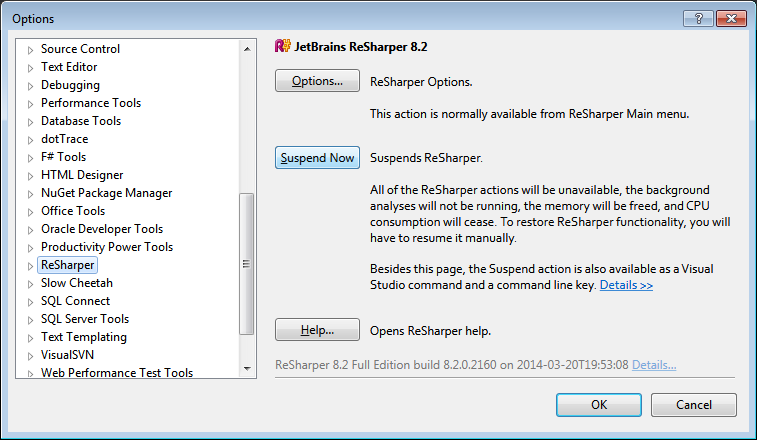
Step 4: Disable Resharper if you have it installed
Again based on a recommendation I have read about. Go to Tools, then Options then Resharper as shown below:
Step 5: Add Umbraco using Nuget Package Manager Console
Go to Tools, then Package Manager, then Package Manager Console and enter the following command (N.B. omit the version part to get the latest version):
install-package umbracocms -version 7.2.1
Any errors at this stage – remove umbracocms and all other packages in Nuget and try again. Don’t forget to re-enable Resharper if you suspended it.
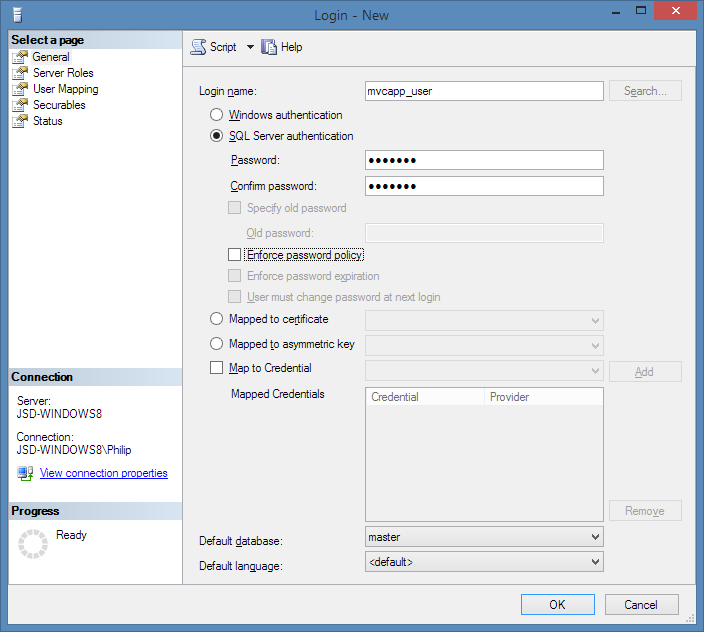
Step 6: Create a SQL/Server Database
You should create a SQL/Server database on your local machine:
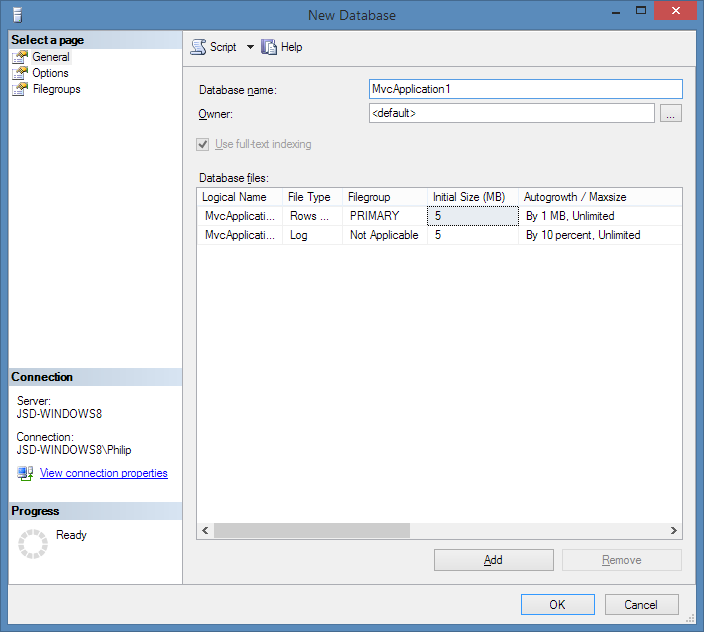
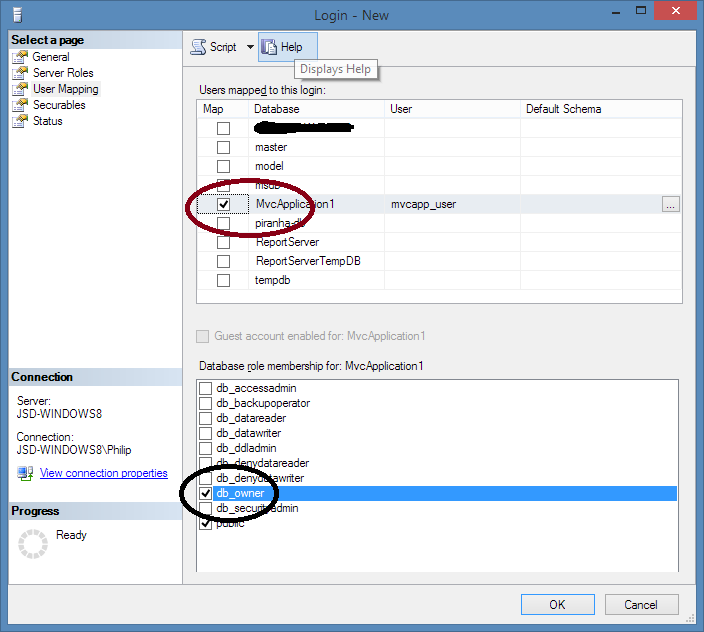
You also need to set up a user for this database:
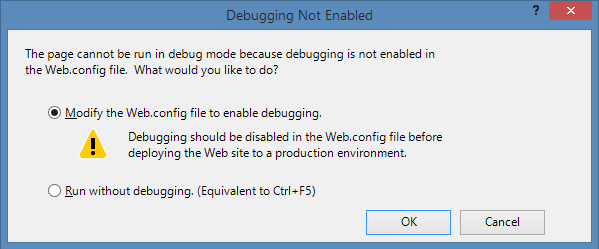
Step 7: Build and Run the Project to Install Umbraco
Now you have set up Umbraco in the project, you need to set up Umbraco in its database for your website.
Switch back to Visual Studio 2012 and Build and Run the project. If the following prompt comes up enter as desired (the publish option should transform debug out of the web.config in any case):
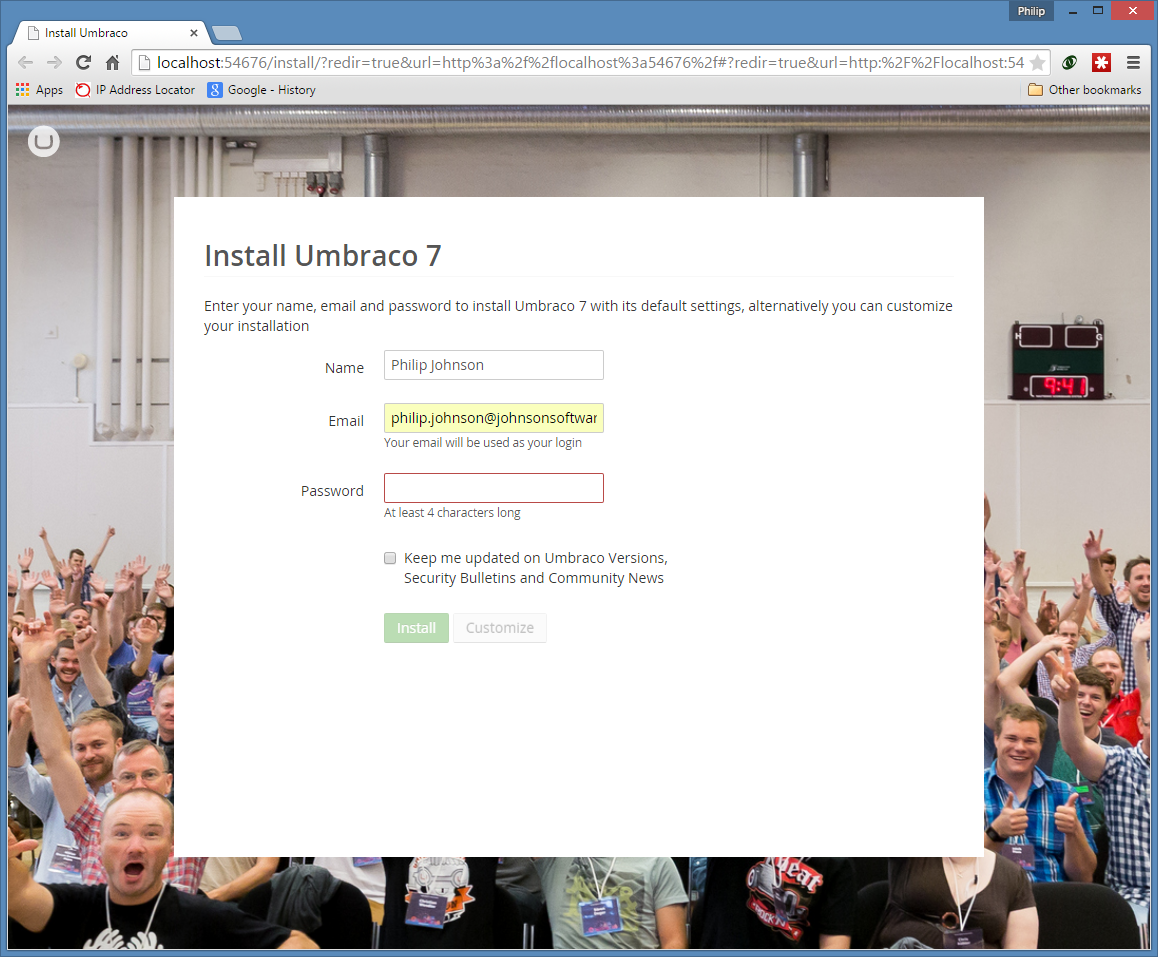
Important: on the following page enter your details and click Customize. Do not click Install unless you want all the default options.
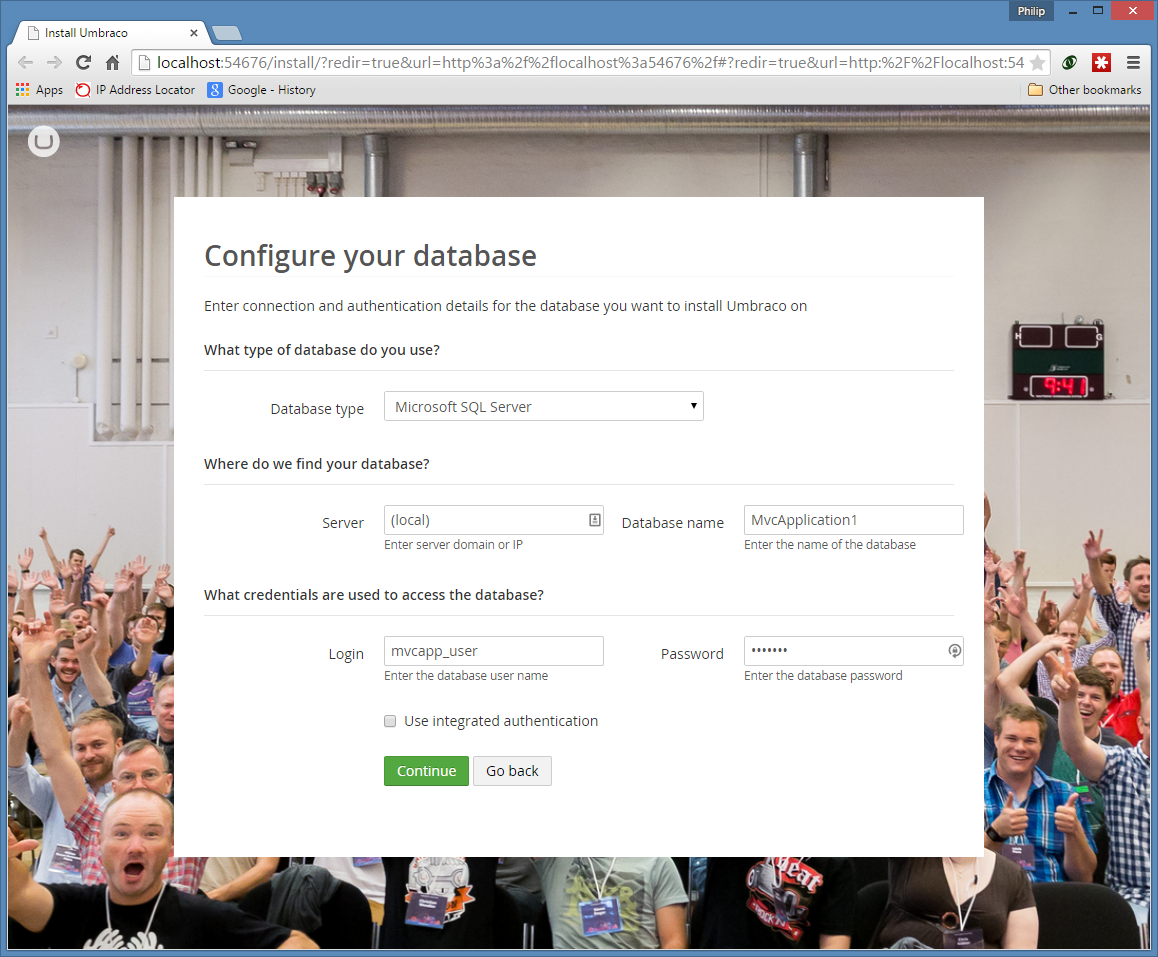
On this page, you should enter the details of your SQL/Server database and user you just set up, then click Continue, to well, continue…
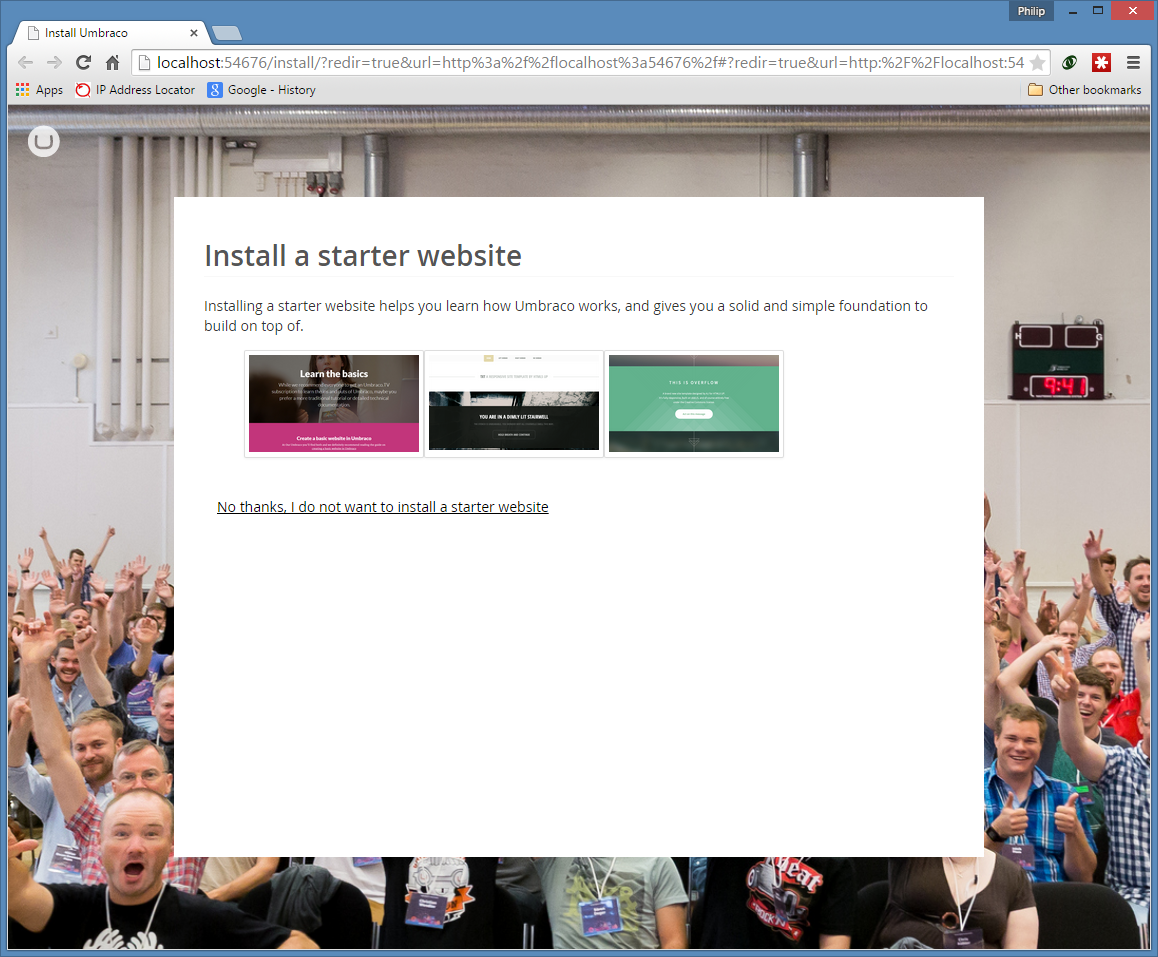
You should choose “No thanks, I do not want to install a starter website”, unless you are doing this for the first time and want to have a play.
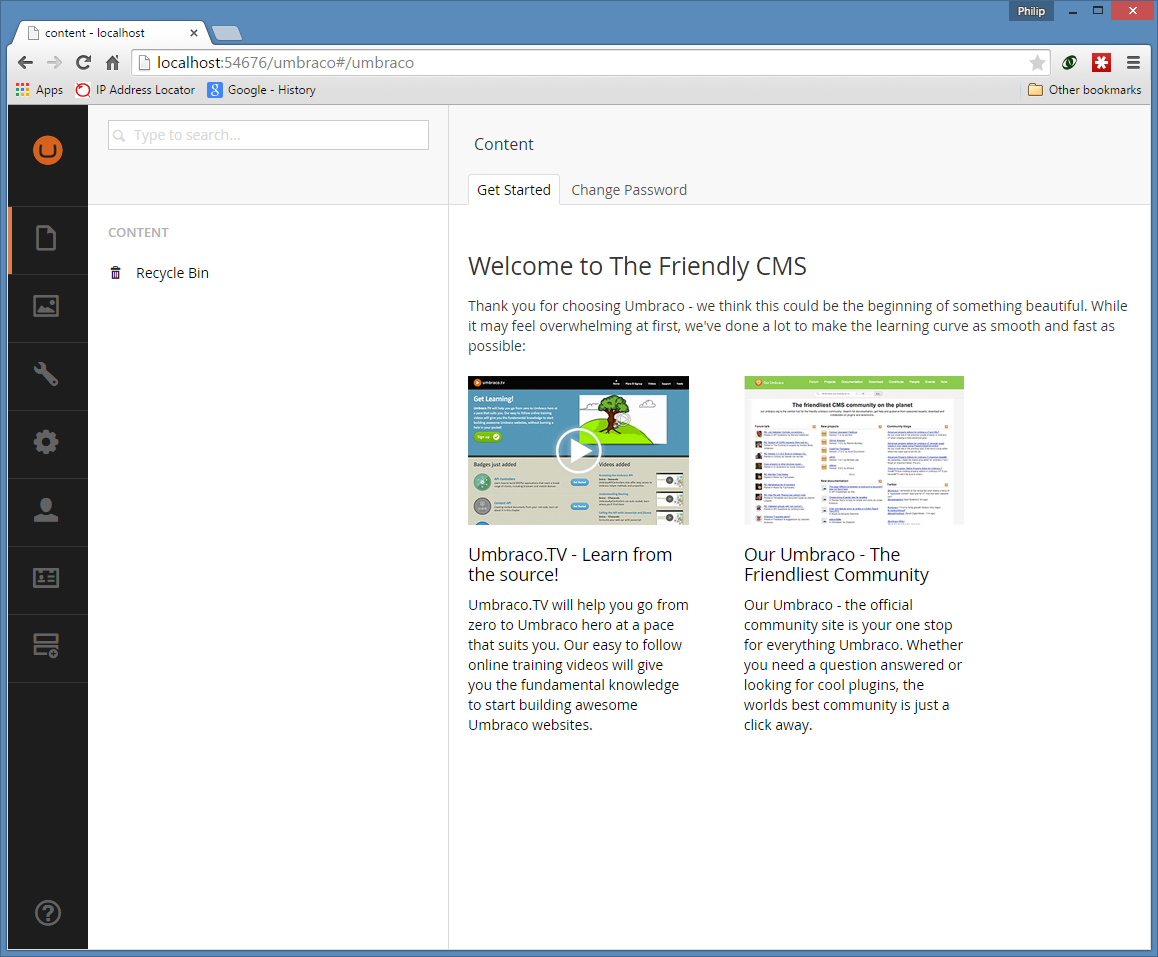
Umbraco then “whirrs” for a bit (or maybe its just my computer) and then takes you into the Umbraco admin area. You are now ready to go and set up your own template. However, I’m going to take you straight into deploying this empty website to Azure in my next post.
To deploy this project to Azure, please refer to my next post on Deploying a Visual Studio 2012 website to Windows Azure. Having just created an Umbraco project, there are a few additional things you should be aware of:
- You need to ensure that all the correct files are included in the project, because by default, many are not. More or less everything apart from the usual bin, obj and packages folders should be deployed. So to do this, click Show All Files and right click and choose Include in Project as appropriate. If you don’t do this your project will not work when it publishes because it will not be complete.
- You should remove the umbraco\install folder within the solution. It is no longer needed and should not be deployed up to the web.
- You might like to add a robots.txt file before you deploy. There are many ways to do this, but I just added a text file to the Visual Studio project with some suitable lines in it.
- If you get errors when you deploy for the first time, you can use WebMatrix to change your deployed Web.Config to set CustomErrors=”Off” rather than “RemoteOnly”. This will allow you to see the YSOD (yellow screen of death). In my case, it was due to missing dlls – from an Umbraco package that I had installed as part of my theme. Visual Studio Publish doesn’t know about these. So I manually copied this DLL into my bin folder.
- Once you have deployed for the first time, its very important to ensure that any .config files in App_Data are NOT deployed subsequently. This is because these are data files that hold some of the content for the site. The reason why I deployed these the first time was because I had installed a theme locally before deploying so I wanted my sample content up. So I set build action to “None” for these files.
Update: After following the steps in this post, you may like to review which files are in the project and also if they are added correctly to your source control system. I usually use SVN, and some work is always required in this respect. In particular Umbraco will not add files from a template into Visual Studio automatically, so you have to show all files and then include the files you would like in the project by right clicking and choosing “Include in Project”.
Leave a Reply